Raise an Ant Colony Walkthrough: First Nest to Queen Raids
Follow this Raise an Ant Colony walkthrough to dig your first nest, hatch Workers, Majors and Drones, grow your food income, and raid rival queens for DNA.
Jump to
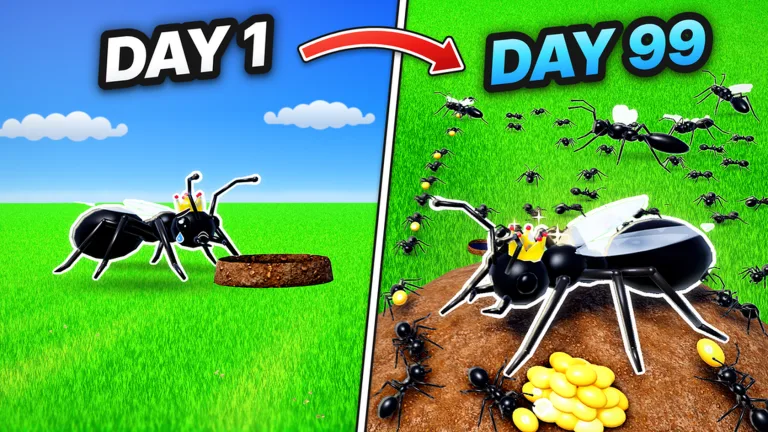
Your queen starts with nothing but a patch of dirt. Your opening moves shape whether you end up with a busy underground army or a nest that gets picked apart by the first bug that wanders in. This Raise an Ant Colony walkthrough takes you from the first dig to your first queen raid, in the order you'll actually play it. It covers egg costs, a clean food loop, when to add Majors, and how to grab free DNA along the way.
Antventure launched the game on Roblox on October 19, 2026. It's free to play, and each server holds up to 10 players. That means rival colonies are never far away, so the order you build in matters.
Walkthrough Overview
The whole game runs on one loop: dig chambers, lay eggs, collect food, expand, and repeat. Skip any part of it and your colony either stalls or gets exposed.
| Stage | Objective | Key Rewards / Unlocks |
|---|---|---|
| 1. First Dig | Dig down and place the queen's nest | Your named nest and first egg |
| 2. First Workers | Deliver food and hatch Workers (10 Food each) | Steady food income |
| 3. First Majors | Hatch Majors (15 Food each) to guard the nest | Home defense |
| 4. Expansion | Add Drones, more Workers, and nest space | Bigger colony, faster growth |
| 5. War | Raid rival colonies and defeat their queen | DNA for upgrades and species |
Stage 1: Dig Your First Nest
The tutorial walks you through the opening, and you should follow its markers closely.
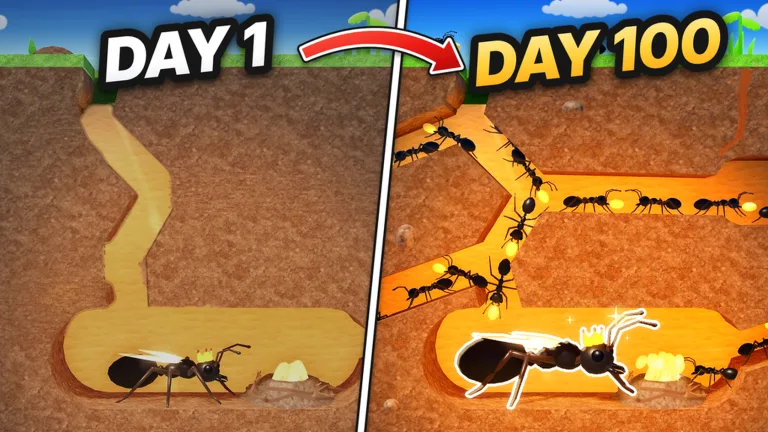 Image: Roblox / Antventure
- Line your queen up with the highlighted spot at the first tutorial marker and dig. F is used for digging.
- Follow the tunnel down until the tutorial points you to the nest site.
- Place the nest on the marker. Your player name appears above it with a Food counter underneath. Use that label to tell your nest apart from other players' nests when you come back underground.
- Follow the highlighted egg control to lay your first egg. It starts hatching while your Food counter sits at 0.
- Pick a landmark at your tunnel entrance before you head up. You'll be making a lot of return trips.
Keep your first chambers close together around the queen. Long early tunnels waste travel time and leave more routes open to attackers. You can also pick up the nest and move it later, so a bad first spot isn't permanent.
Antventure's November 21 update gave new players a longer peace period when they join. Use that window to lay your first egg and run your first food deliveries before anyone can bother you.
Stage 2: Hatch Your First Workers
Food is the currency for eggs. In the opening, the egg prices look like this:
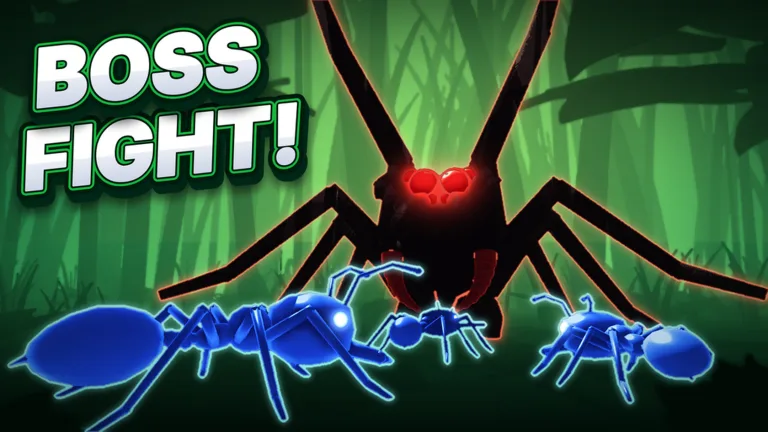 Image: Roblox / Antventure
- Worker: 10 Food
- Major: 15 Food
Here's how the opening loop goes:
- Head to the surface and grab the nearest food pickup.
- Carry it back to your nest and wait for the delivery to register. Your first tutorial delivery gives +2 Food and +5 DNA.
- When the game tells you there's enough Food for another egg, return to the nest and pick from the highlighted egg choices.
- Once your first Worker hatches, it starts gathering on its own. Keep foraging alongside it until you reach 10 Food again.
This part takes patience. Pour everything into Workers first, because every extra Worker speeds up the next egg.
Favor short, nearby food runs over long detours. A close pickup you can bring home quickly beats a bigger item across the map, and a short loop also makes it obvious when a delivery didn't register.
Stage 3: Build Food Income and Add Majors
Once a few Workers are hauling food, your total climbs quickly. When Food keeps flowing, start splitting production between economy and defense.
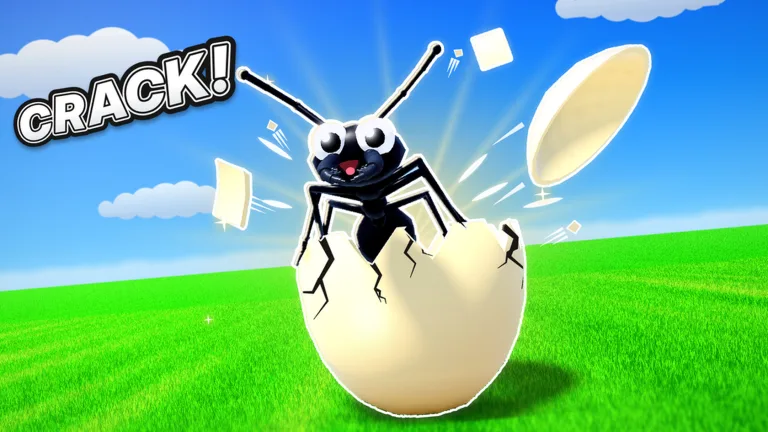 Image: Roblox / Antventure
- Keep hatching Workers until the game tells you your Workers are full. Worker slots are capped.
- Hatch your first Major as soon as you can spare 15 Food. Majors act as guardians for the nest.
- Station Majors along your main tunnels and around the queen's chamber.
- Stack several Majors before you take any risks.
Don't commit every Worker to distant food. If the whole colony is out foraging, nobody is home to protect the queen.
Stage 4: Add Drones and Expand in Stages
After your Worker base is stable and a couple of Majors are on guard, start mixing in Drones. A balanced colony suits new players: a dependable Worker base, Majors for protection, and Drones to fill out the rest.
- Expand only as population grows. Empty rooms dug before you have ants to use them are wasted space.
- Build practical routes between the queen, the brood, and your main gathering spots.
- Lay several eggs in a row when your Food allows. They hatch one by one while you go back out to collect.
- Keep a Food reserve rather than spending to zero. You want enough left to rebuild if something attacks.
Stage 5: Defense, Threats and Colony Wars
Surface enemies are real threats. An Assassin Bug can kill your Workers, so watch for one lurking near your entrance.
Staying alive
- Lead dangerous bugs away from your tunnel instead of fighting them at the entrance. Climbing to higher ground can shake off pursuers that can't follow you up.
- Keep Majors near the queen at all times.
- Other players can attack you. Find a sheltered spot, or play on a private server if you just want to build in peace.
- Keep your connection stable. A disconnect can send you back to the start.
Raiding rival queens
Defeating an enemy queen is one of the best DNA sources in the game. Follow these steps for a raid:
- Scout the target colony and compare its defenses with your army.
- Bank enough Food to replace losses during the fight.
- Leave a defensive group of Majors at home before you march.
- If you're playing with friends, set roles first: some players attack, and at least one stays home to guard.
- Push together toward the queen instead of splitting into small fights you can lose one at a time. Pull back if the push exposes your own queen.
- After the kill, regroup, protect your survivors on the way home, and spend the DNA right away.
Spending DNA and Unlocking Species
DNA pays for upgrades and new ant species. Spend it on whatever is holding you back right now:
- Food is the bottleneck? Buy collection and production upgrades first.
- Food is already stable? Save for species or combat upgrades that make queen raids possible.
- Planning a war? Hold off on optional purchases and keep a reserve.
Antventure's Leafcutter update runs from November 21–25, 2026. It adds a Leafcutter ant and a mystery species, along with pathfinding fixes and a new Settings menu.
Some creatures can be unlocked permanently with Robux on the official Raise an Ant Colony Roblox page:
| Game Pass | Price | Effect |
|---|---|---|
| [PERM] Hornet | 399 Robux | Unlocks the Hornet permanently |
| [PERM] Wolf Spider | 499 Robux | Unlocks the Wolf Spider permanently |
| [PERM] Giant Scorpion | 899 Robux | Unlocks the Giant Scorpion permanently |
| 2x Food | 199 Robux | 2x food from everything |
| 2x DNA | 299 Robux | 2x DNA from everything |
Codes and Free Rewards
Redeem codes early, because 100 DNA goes a long way in the opening hour:
| Code | Reward |
|---|---|
| DRAGONFLY | 100 DNA |
| 2MVISITS | 100 DNA |
To redeem a code:
- Open the Menu on the left side of the screen.
- Go to the Shop and scroll to the bottom.
- Type the code into the Enter a Code field exactly as written. Codes are case-sensitive.
- Click Redeem and check your DNA balance.
Codes work once per account, and DNA isn't shared between friends, so everyone in your group should redeem them on their own account.
For a free Harvester ant, join the Antventure Roblox group and like the game. New codes usually arrive with updates and visit milestones, and they're announced on Antventure's Discord and group wall.
FAQ
How much Food does a Worker or Major cost?
A Worker costs 10 Food and a Major costs 15 Food. Prioritize Workers early so Food comes in faster.
Can I move my nest after placing it?
Yes. You can pick up the nest and move it, which is handy if your first spot ends up too exposed.
How many players can join one server?
Up to 10. You can team up with friends to defend each other's nests and coordinate raids on rival colonies.
What's the fastest way to earn DNA?
Redeem the active codes, deliver food (the tutorial delivery alone gives +5 DNA), and defeat enemy queens in raids.
Continue with
 Raise an Ant Colony War and PvP Guide: Defend and ConquerOur Raise an Ant Colony war and PvP guide covers peace periods, Majors for defense, co-op roles, and how to take down rival queens for DNA. Start winning.
More in Guide
Raise an Ant Colony Beginner Guide: First Nest to Army
Raise an Ant Colony beginner guide: dig your first nest, hatch Workers and Majors, stack food, grab free DNA codes, and keep your queen safe from raids.
Raise an Ant Colony Co Op Guide: Team Up, Raid & Defend
Raise an Ant Colony co op made simple: join a friend's server, split raid and defense roles, protect every queen, and grab free DNA codes for your team.
Raise an Ant Colony DNA Guide: Earn, Spend & Free Codes
Our Raise an Ant Colony DNA guide covers every way to earn DNA, from queen kills to codes, plus what to spend it on first. Grow a stronger Roblox colony.
Raise an Ant Colony How to Get Money: Food & DNA Guide
Raise an Ant Colony how to get money explained: farm Food with Workers, earn DNA from codes and queen kills, and spend both wisely. Start growing today.
Continue exploring
Join the community
Official channels for news, updates and player help: